Saturday, August 28, 2010

RunZa Casserole

Being from Nebraska, one of my favorite things to eat is a swiss cheese mushroom runza. If you've never heard of runzas than I would say that you are missing out. It's actually a surprise to me just how many people have never heard of such a thing. But, I guess that's because it's a Nebraska thing. . . ha ha!

According to Wikipedia, a Runza (also called a bierock, fleischkuche or Kraut Pirok) is a yeast dough bread pocket with a filling consisting of beef, pork, cabbage or sauerkraut, onions, and seasonings. They are baked in various shapes such as a half-moon, rectangle, round (bun), square, or triangle. In Nebraska, the runza is usually baked in a rectangular shape. The bierocks of Kansas, on the other hand, are generally baked in the shape of a bun. 

According to the Runza restaurant website, a runza sandwich is homemade dough made from scratch everyday — stuffed full of choice ground beef, onions, cabbage, and secret spices—and then baked fresh and served hot. MMMmmmmmm yes...pure heaven! I thought that the Runza restaurant chain had patented the "runza" name, but don't quote me on that. Even when we make them ourselves, we still call them runzas. 

When I was growing up, my grandma would make a big batch of runzas and share with us. My mom has also made them a time or two. I'll get around to making my own runzas someday. For now I have a quick fix  . . . RunZa Casserole.


The basic ingredients . . .
1-1/2 lbs ground beef, 1/2 onion (chopped), salt, pepper, minced onion, minced garlic, garlic salt, 1 bag of shredded cabbage (approx. 4 cups), mozzarella cheese (shredded), 2 tubes of crescent roll dough.
Variation: replace the mozzarella with swiss cheese . . . so good!!!

The extras . . .
Cheddar cheese and sliced mushrooms.

Putting it together . . .
Brown the hamburger and onion. If you're not a big fan of onion, and because the recipe also calls for minced onion, you may want to skip the fresh onion. 
We LOVE onions so the more the better!


 The next step is to season the meat/onion mixture. I used lean beef so I really didn't have any grease to drain, but be sure to drain if you have too.

Add minced onion, minced garlic, garlic salt, pepper and salt.
The key to flavor is really in the seasonings so make sure you have a taste.


Add the shredded cabbage to the meat mixture. 
This particular bag mixture had carrots.


Cook the mixture until the cabbage shrinks down. I added more seasonings, especially salt.
At this point you may want to have another lttle taste test.

Assembly at it's (uh) finest . . .
Place one tube of crescent roll dough in a 9 x 13 casserole dish.
Flatten out the dough with your hands or  use a baker's roller (Pampered Chef plug).
It doesn't have to be pretty, but knock yourself out if you want it to be perfect.
  
 Add the meat/cabbage mixture on top of the dough.


 Optional: Add one can of sliced mushrooms

Here comes the love . . .
Sprinkle one package (2 cups) of mozzarella cheese on top of the mixture.
Variation: Substitute swiss cheese for mozzarella.


Optional: Add some more love (aka cheddar cheese). I used about 1/4 cup.

Topping it off . . .
Place the second tube of crescent dough on top. 

You may want to make it look prettier than I did. But, if you don't care and you just want to eat it then you will end up with a top crust that resembles Frankenstein!

Bake according to directions on the crescent roll dough. Since you are using two tubes of dough, you will more than likely double the time. Just keep an eye on it. It should be golden brown when done.

Voila!
Fresh out of the oven.
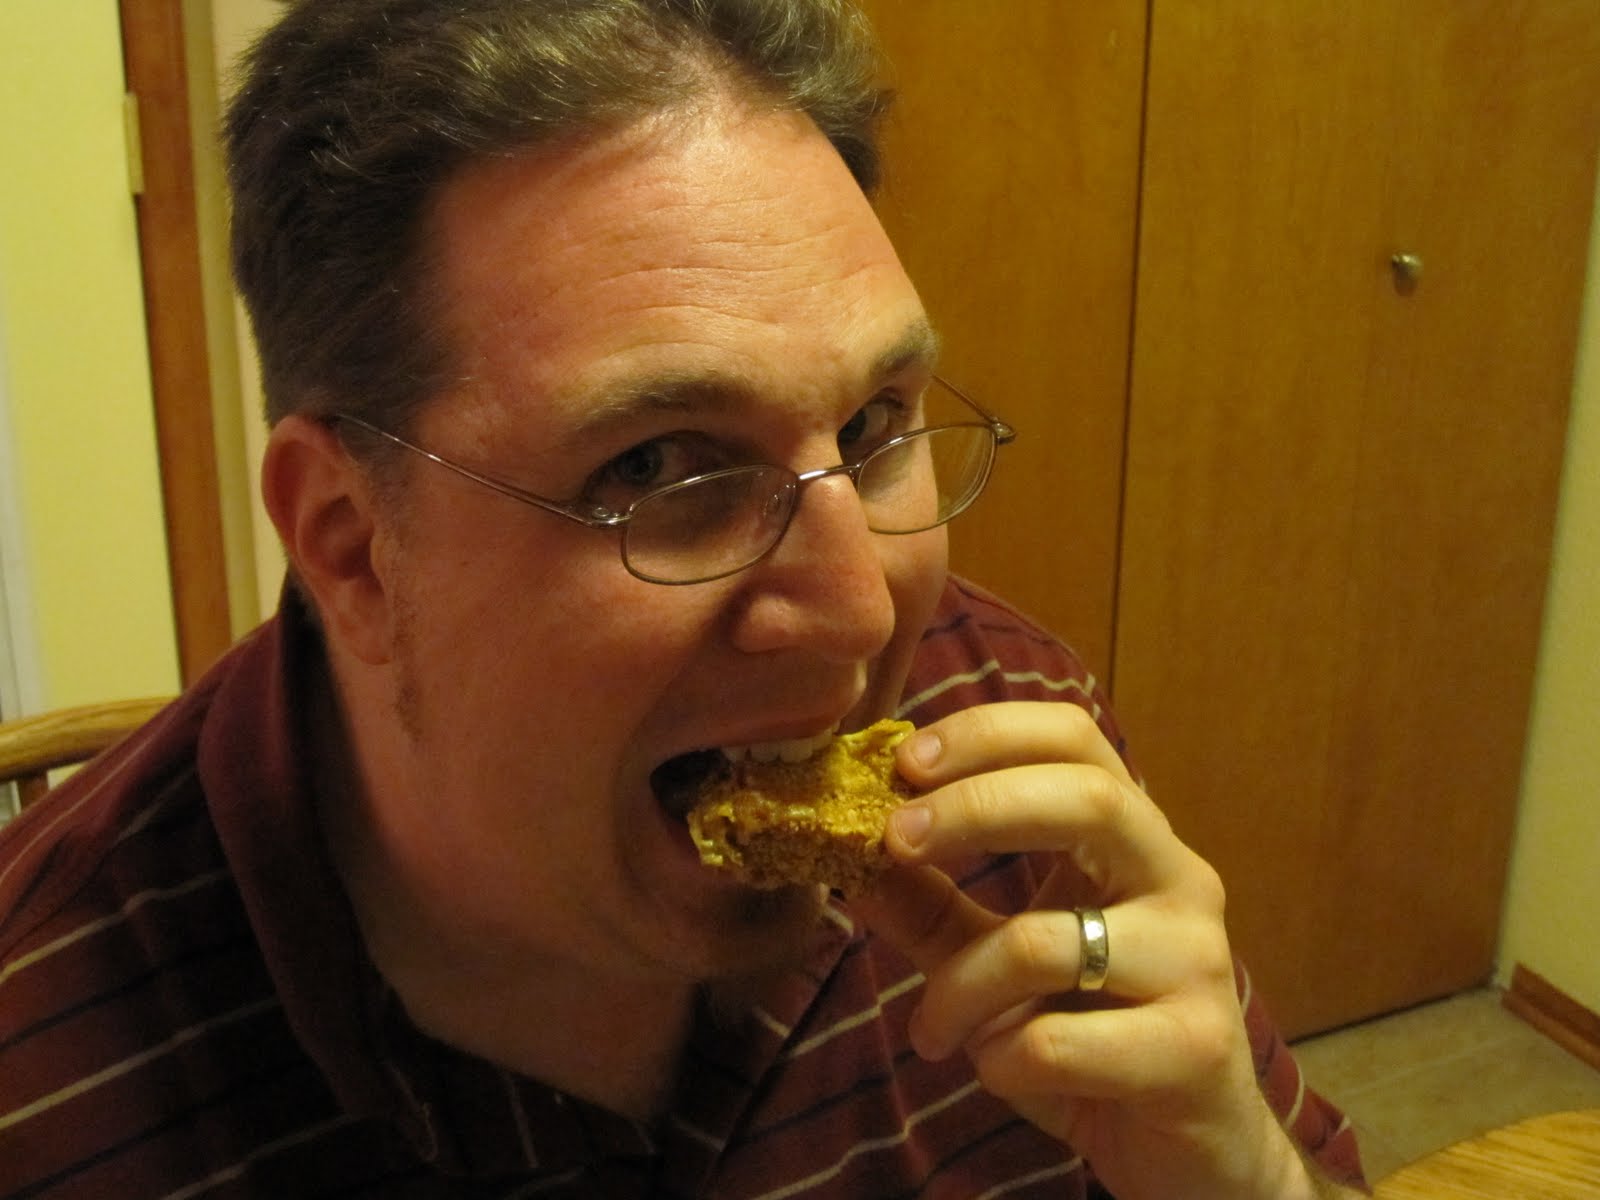

Ready to eat! 
We like to eat with ketchup and mustard, but it's good by itself too. 
 

My husband had a big smile on his face when I served this to him for dinner. I told him that I thought it looked ugly (ie, Frankenstein), but he said, "who cares...it tastes good!" Yay! That's what I like to hear. I hope you enjoy it as much as he did.

RunZa Casserole
Ingredients:
  1-1/2 lbs Ground beef
  1/2 onion (chopped)
  salt
  pepper
  minced onion
  minced garlic
  garlic salt
 1 bag of shredded cabbage (approx. 4 cups)
  mozzarella cheese (or swiss cheese slices)
  2 tubes of crescent roll mix
Additional (optional) ingredients:
  1/4 cup cheddar cheese
  1 can of sliced mushrooms


Directions:
1. Brown the hamburger and onion. If you're not a big fan of onion, and because the recipe also calls for minced onion, you may want to skip the fresh onion.
2. Season the meat mixture with minced onion, minced garlic, garlic salt, pepper and salt.
3. Add the shredded cabbage to the meat mixture.
4. Cook the mixture until the cabbage shrinks down. I added more seasonings, especially salt. *
           **At this point, make sure you've had a little taste*
5. Flatten out one tube of crescent roll dough into the bottom of a 9 x 13 casserole dish. It doesn't have to be pretty, but knock yourself out if you want it to be perfect.
6. Add the meat/cabbage mixture on top of the dough.
7. If desired, add sliced mushrooms.
8. Sprinkle one package (2 cups) of mozzarella cheese on top of the mixture.
9. If desired, add cheddar cheese.
10. Place the second tube of crescent dough on top of the cheese/meat/cabbage mixture.
11. Bake according to directions on the crescent roll dough. Since you are using two tubes of dough, you will more than likely double the time. Just keep an eye on it. It should be golden brown when done.


 Photobucket

Monday, August 23, 2010

Cheese & Taco Frenchies

I grew up in the small town of McCook, Nebraska (population then was approximately 8,000). In a blog post I wrote a few months ago for my hometown gazette, I talked about some of the eating establishments I missed in McCook and the surrounding areas. One place I talked about was Peter's Dairy Creme. Even though the restaurant closed in 1994, the memories still live on. Someday I will add a recipe post dedicated to the Jiffy Burger, a sandwich that Peter's was well known for, but today I am focusing on the FRENCHIE.

Just a few months ago I introduced my hubby to the frenchie! He had never even heard of such a delicacy. That leads me to believe there are others out there who are unaware. Well, this is too good of a thing not to share. Think of it as grilled cheese on steroids! Yummo! Personally, I like to define it as a "take-two-slices-of bread-add- mayo-and-American-cheese-then-dip-in-egg-and-cornflakes-before-frying-to-a-deep-golden-perfection" delicacy!

You can still find cheese frenchies today at places like Don & Millie's and King's. To my knowledge, Peter's is the only place I know of that had ventured into different flavors of frenchies. Along with regular cheese frenchies, you could also get pizza and taco frenchies. My favorite were taco frenchies! 

Follow the pictures and steps below to make both cheese and taco frenchies. I promise you won't be sorry. Well, your waistline may be a bit sorry, but your mouth won't! ENJOY!

Frenchie Basics . . .
Remove the crusts from bread.
(Idea: Save the crusts and make croutons!)

Spread a generous amount of mayo (or Miracle Whip)
over each slice of bread.

 For Cheese Frenchies . . .
Add one slice of cheese to each slice of bread (two slices
per sandwich). Cut diagonally into triangles.

The early beginnings of a cheese frenchie!

 For Taco Frenchies . . .  
Chop (finely) approximately 1/4 cup each of green pepper and onion.


Brown 1 lb of gound beef with the onion and green pepper.
Drain grease . Add taco seasoning.

I also added some cumin and chili powder (which is already found in taco seasoning). I love the taste of cumin! The taco meat mixture should be made according to your own tastes.

Add taco meat mixture on top of the cheese.

One half gets the meat mixture plus cheese while
the other just has cheese. Sandwich the two halves together.


Cut the now sandwiched halves in half (still with me?!?) and freeze
for one hour. Freezing helps keep things together for the dipping.

Frenchie Dipping . . .
(Sounds kinda sexy doesn't it...AHEM . . . where was I . . . hee hee?)
Combine crushed corn flakes (use a food processor to get them really fine) and bread crumbs in one bowl.
Add egg and water to another bowl.
(I use pie plates because they are shallow and work well for dipping.)


Dip the frenchie in the egg mixture and then coat
with the crumb mixture.

In order to get a really good coating you may need to dip in the egg mixture more than once. When you are done dipping, place in freezer overnight (or for several hours).

Frozen cheese frenchies ready to fry!


Frozen taco frenchies ready to fry!

Frenchie Frying . . .
Deep fry 'til golden brown.
It took about 10 minutes for the cheese frenchies
and a little longer for the taco frenchies.


Keep in mind that you want the cheese to be melted (ooey and gooey) all the way through.Also, because the taco frenchie meat is frozen you want to allow enough time so that it is completely warmed through. As a last resort, if the cheese isn't melted completely, or if the meat isn't warm, just stick it in the microwave for a few seconds. Fry time is really up to you!

Out of the Fryer and into the Mouth . . .
Mmmmm....mmmm...look at the oozing cheese!


Cheese Frenchie yumminess!

Taco Frenchie Goodness!
 
                                   
Dad, Mom, and Hubby approved!!!!      


One more thing . . .
In case you are wondering if you have to go through the freezing process, I will say that it is entirely up to you. Freezing definitely holds everything together and keeps the crumb coating from falling off right away into the hot oil. If you do freeze them and don't want to fry all of them up at one time, they store well. The frenchies you've seen in these pictures were made one week and then enjoyed several weeks later. I even took some back to my parents in Nebraska (with a little help from some dry ice). Here's how I packaged mine for freezing. . . 


Now, if you don't want to wade back through all of the pictures while you're trying to cook, use the following:

Cheese Frenchies
Ingredients:
  6 slices of white bread
  6 slices of American Cheese
  2 eggs
  2 Tablespoons of water
  4 cups crushed Corn Flake
  1/2 cup bread crumbs
  Mayo or Miracle Whip
  Oil for frying

Directions:
1. Remove the crusts from the bread.
2. Spread a generous amount of mayo on bread.
3. Insert cheese slices between pieces (two slices per sandwich).
4. Cut diagonally to form two triangles.
5. Freeze one hour.
6. Mix cornflake crumbs (use food processor to get them really fine) and bread crumbs in one bowl. Mix egg and water in another bowl. Remove from freezer and dip into egg then coat with the crumb mixture.
7. Freeze overnight (or for several hours).
8. Deep fry 'til golden brown (approximately 10 minutes).

For Taco Frenchies
Ingredients: All of the above ingredients plus the following:
  1 lb ground beef
  Green Pepper
  White Onion
  Taco Seasoning
  Water
  Cumin (optional)
  Chili Powder (optional)

Directions:
1. Chop (finely) approximately 1/4 cup each of green pepper and onion.
2. Brown gound beef with the onion and green pepper.
3. Add taco seasoning and approximately 1/4 cup water. The water steams the meat, breaking it down and making it stick together. At this point, you should taste the meat mixture. Add cumin and chili powder if you'd like.
4. Remove the crusts from the bread.
5. Spread a generous amount of mayo on bread.
6. Insert cheese slices between pieces (two slices per sandwich).
8. Add taco meat mixture on top of one slice.
9. Sandwich two halves together and cut in half to form two rectangles.


*Repeat steps 5 through 8 from Cheese Frenchie recipe above. Adjust fry time for Taco Frenchies (10+ minutes).*

Note: Because I made both cheese and taco frenchies, I used a whole loaf of bread. You will also need more eggs, corn flakes, and bread crumbs.

HOPE YOU ENJOY!!! Let me know if you end of making these. By the way, one of these days I plan to experiment with my own variation of the pizza frenchie. I'll let you know how it turns out.

Photobucket

Come dine with us!

A few months ago, when my niece was getting ready to graduate from the 8th grade, I had decided to do something special and unique for her. I knew my niece had developed the same love for cooking and baking that I had, and that's when it hit me. . . a recipe book! So, I sat down and put together a bunch of recipes in her own little book. Some of the recipes were ones I made that had become family favorites (eg, my version of OliveGarden's zuppa toscana) and others we had made together (eg, puppy chow and cake balls from our X-mas Baking Extravaganza).

In addition to the recipe book, I also gave her a personalized apron and some kitchen utensils. I'm not so sure she was really thrilled with the gift (who would really like that kind of thing at 14?!), but I do know that she may come to appreciate it someday.

Well, the whole idea of creating the recipe book got me thinking that I should organize my recipes in electronic format, complete with pictures. Actually, my husband brought that idea up a year ago, and I laughed at him (sorry babe!). My thoughts were...who would want to take the time to take pictures of their food!? Well, if you've had a meal with me in the last year or so, you have learned that I have my camera handy when prepping, baking, and eating. Sure, it may be annoying if you want a hot meal, but I do think I'll have something worthwhile to hold on to...even if it's just for me.

It's been almost a year since I stumbled on some great cooking blogs. Women like the Pioneer Woman,(http://thepioneerwoman.com/), the Cake Pop lady (http://www.bakerella.com), and the Doughmessticated Diva (http://www.doughmesstic.com), just to name a few, have inspired me to set out on my own cooking adventures. My pictures may not be fancy and my words may be all over the place, but at the end of the day these recipes are a literal snapshot of what's cooking in my kitchen. I do hope you will let me know if you try something (and credit this blog). I'd love to hear from you.

So, pull up a chair, sit down, relax and have a glass of wine with some homemade zuppa . . . because now you are Dining with the Davis'!


Photobucket